

Best Interior Painting Techniques That Last
- andrew jones
- Jun 3
- 6 min read

Fresh paint can make a room feel sharper, cleaner and more valuable, but only when the work is done properly. The best interior painting techniques are not about quick shortcuts or a coat slapped on to cover the old colour. They come down to careful preparation, the right products, and consistent application that leaves walls, ceilings and trim looking crisp for years, not just for the next inspection or open home.
For homeowners and property managers, that matters. Interior painting is one of the first things people notice when they walk into a property. Uneven sheen, lap marks, patchy coverage or messy cut-in lines can make even a well-kept home look tired. On the other hand, a properly painted interior lifts presentation, protects surfaces and reduces the need for touch-ups down the track.
What the best interior painting techniques really involve
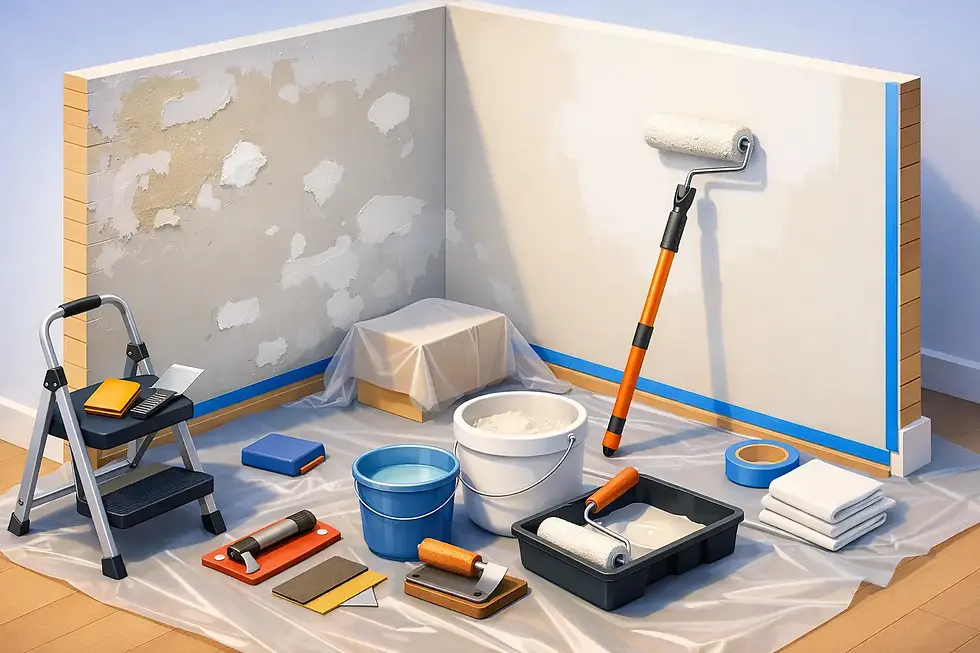
Good interior painting starts well before the first brush touches the wall. In many cases, the finish is decided during preparation. If the surface has dust, grease, minor cracks, nail holes or flaking paint, those issues will still show through unless they are repaired and sealed correctly.
That is why experienced painters spend so much time on prep. Walls are cleaned, damaged areas are filled, joins are sanded smooth, and surfaces are checked under proper light. If there is staining, water damage or smoke residue, a standard topcoat is usually not enough. A suitable sealer or stain-blocking primer needs to go on first, otherwise the problem can bleed back through the finish.
There is a practical trade-off here. A fast repaint may look acceptable on day one, but poor preparation often leads to early peeling, flashing and visible defects. A more methodical approach takes longer, yet it gives a cleaner result and better long-term value.
Surface preparation is where quality starts
Preparation is not glamorous, but it is the difference between a paint job that looks professional and one that looks rushed. Interior walls collect more contamination than many people realise. Kitchens hold grease, bathrooms trap moisture, hallways pick up scuffs, and living areas often have fine dust sitting on surfaces.
Before painting, these surfaces need to be assessed properly. Glossy existing coatings may need sanding to create adhesion. Hairline cracking around cornices or trim may need flexible gap filling. Older walls can need more repair work than expected, especially in homes that have settled over time.
Ceilings also deserve more attention than they usually get. Ceiling paint should not simply be rolled over cobwebs, stains or old patched areas. If the ceiling has water marks, mould spotting or a patchy porous surface, the underlying issue should be treated first. Otherwise, the final coat will draw attention to the problem instead of hiding it.
Choosing the right paint system for each room
One of the best interior painting techniques is using the right system for the environment, not just choosing a colour and hoping for the best. Different rooms put different demands on paint.
Low-sheen acrylic is a common choice for interior walls because it offers a clean look without highlighting every minor imperfection. Flat finishes can work well on ceilings because they soften surface variation and reduce glare. Semi-gloss or gloss is often better suited to trim, doors and architraves where durability and washability are important.
Bathrooms, laundries and kitchens need extra consideration because of steam, moisture and regular cleaning. In these areas, premium washable coatings with good mould resistance usually make more sense than standard products. Commercial interiors may also need tougher finishes in high-traffic zones such as corridors, reception areas and tenancy fit-outs.
This is where experience matters. The right paint is not only about appearance. It affects durability, cleanability and how well the finish holds up under daily use.
Best interior painting techniques for a smooth, even finish
Application technique has a major impact on how the final result looks. Even high-quality paint will not perform well if it is applied inconsistently. The aim is even coverage, uniform sheen and neat transitions between surfaces.
Cutting in is one of the clearest signs of workmanship. Straight, clean lines along ceilings, cornices, skirting boards and trims create a polished look. Messy edges or heavy brush marks stand out immediately, especially in rooms with strong natural light.
Rolling technique matters just as much. Paint needs to be loaded evenly and spread at the correct rate, rather than stretched too thin or laid on too heavily. A professional painter works to maintain a wet edge, which helps avoid lap marks and patchiness. The type of roller nap also needs to suit the surface. Smooth plasterboard, lightly textured walls and previously painted surfaces can all require different approaches.
Two finish coats are often necessary for proper depth and consistency, particularly when changing colour significantly or covering repaired areas. In some situations, a tinted primer or undercoat helps build a more even base. Trying to save time with one heavy coat usually creates more problems than it solves.
Why lighting changes how paint looks
A room can look perfect under one light and completely different under another. Natural light, downlights, lamps and window orientation all affect how colour and finish are perceived. This is one reason interior painting should never be treated as a simple product purchase.
Dark colours can show roller marks more easily if the surface preparation is poor. Very bright whites can exaggerate flaws on older walls. Higher sheen levels reflect more light and can make dents, patching and uneven texture more noticeable.
The best interior painting techniques take these conditions into account before work begins. That might mean recommending a lower sheen in a room with strong side light, using a specific preparation method on repaired plaster, or selecting a finish that balances appearance with practicality. Colour consultation can also help avoid the common issue of a shade looking different on the wall than it did on a sample card.
Trim, doors and detailed areas need a different standard
Walls usually take up the most area, but trim work is where precision is most obvious. Doors, frames, skirting boards, window reveals and cabinetry-adjacent surfaces all need a tighter level of control. These areas are viewed up close and touched often, so imperfections stand out quickly.
Proper preparation for trim usually involves cleaning, deglossing or sanding, filling dents, and using suitable primers where needed. The finish coat then needs to level well and cure properly. If this stage is rushed, brush drag, visible nibs and inconsistent gloss can spoil the look of the whole room.
For occupied homes and commercial spaces, timing also matters. Doors and trims need enough drying and curing time to avoid sticking, marking or early damage. A quality result is not only about how it looks when the painter leaves, but how it performs after the room is back in use.
Occupied homes need careful planning
Interior painting often happens while people are still living or working in the property. That adds another layer to the job. Protecting floors, furniture and fittings is essential, but so is planning the work to minimise disruption.
Bedrooms, offices, retail areas and common spaces may need to be completed in stages. Odour, drying times and access all need to be considered. A dependable painting contractor will organise the sequence properly, communicate clearly and keep the site tidy throughout the process.
This is especially important for landlords, body corporate managers and commercial operators. Downtime costs money, and a messy or poorly managed paint job creates extra stress for tenants, staff and owners alike. At Cre8tive Painting Services, that practical side of the job is treated with the same care as the finish itself.
When repainting is not enough
Sometimes paint is expected to solve a problem that is actually a substrate issue. If walls have water damage, movement cracking, mould, bubbling, or failing previous coatings, repainting alone may not deliver a lasting result.
In those cases, the better technique is to address the cause first. That may involve repairs, moisture treatment, stain sealing or removal of unstable coatings before the repaint begins. It can add to the scope of works, but it protects the investment and prevents repeat problems.
This is where professional advice is valuable. A trustworthy painter should tell you when a simple repaint is enough and when more extensive preparation is needed. That honesty saves time, money and frustration later on.
A quality finish is built, not rushed
The best interior painting techniques are less about tricks and more about discipline. Sound preparation, room-specific product selection, careful application and attention to detail all work together to create a finish that looks sharp and lasts.
If you want interiors that hold their appearance under daily wear, it pays to choose painters who treat every stage of the work seriously. A well-painted room should feel clean, consistent and complete - the kind of finish you notice straight away, and appreciate long after the paint has dried.


Comments